Shipping
available to the following states: AL Alabama AK Alaska AS American Samoa
AZ Arizona AR Arkansas CA CZ Canal Zone CO Colorado CT Connecticut DE
Delaware DC District of Columbia FL Florida GA Georgia GU Guam HI Hawaii
ID Idaho IL Illinois IN Indiana IA Iowa KS Kansas KY Kentucky LA Louisiana
ME Maine MP Mariana Islands MD Maryland MA Massachusetts MI Michigan MN
Minnesota MS Mississippi MO Missouri MT Montana NE Nebraska NV Nevada
NH New Hampshire NJ New Jersey NM New Mexico NY New York NYC New York
City NC North Carolina ND North Dakota OH Ohio OK Oklahoma OR Oregon PA
Pennsylvania PR Puerto Rico RI Rhode Island SC South Carolina SD South
Dakota TN Tennessee TX Texas UT Utah VT Vermont VI Virgin Islands VA Virginia
WA Washington WV West Virginia WI Wisconsin WY Wyoming AP APO AE APO AA
APO UK CD DE, CA CANADA, IL Israel, SA Germany, England UK, CANADA, IL
Israel, New Zeland, Spain, Iceland, Brazil, Australia, Mexico, PL Poland,
Singapore, Turkey Greece, North America, South America, Belgium, CL Chile,
China, Colombia, Costa Rica, Cyprus, Denmark, Ethiopia, French, Finland,
Germany, Hong Kong, Irelan, Italy, Japan, Kuwait, NZ New Zealand, Norway,
Panama, Peru, PR Puerto Rico, Swaziland, Sweden, Uruguay , Venezuela,
British Virgin Island, SA South Africa and more, pleae call if needed.
[HOME]
JAMMERS]
[DETECTORS]
[ANTI-PHOTO]
[BLINDER JAMMER]
[RMR THE JUDGE]
[FAQ]
[RADAR
JAMMERS] [LASER
JAMMERS] [RADAR
DETECTORS] [PHANTOM]
[PHAZER]
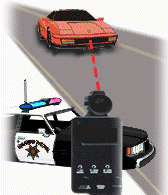
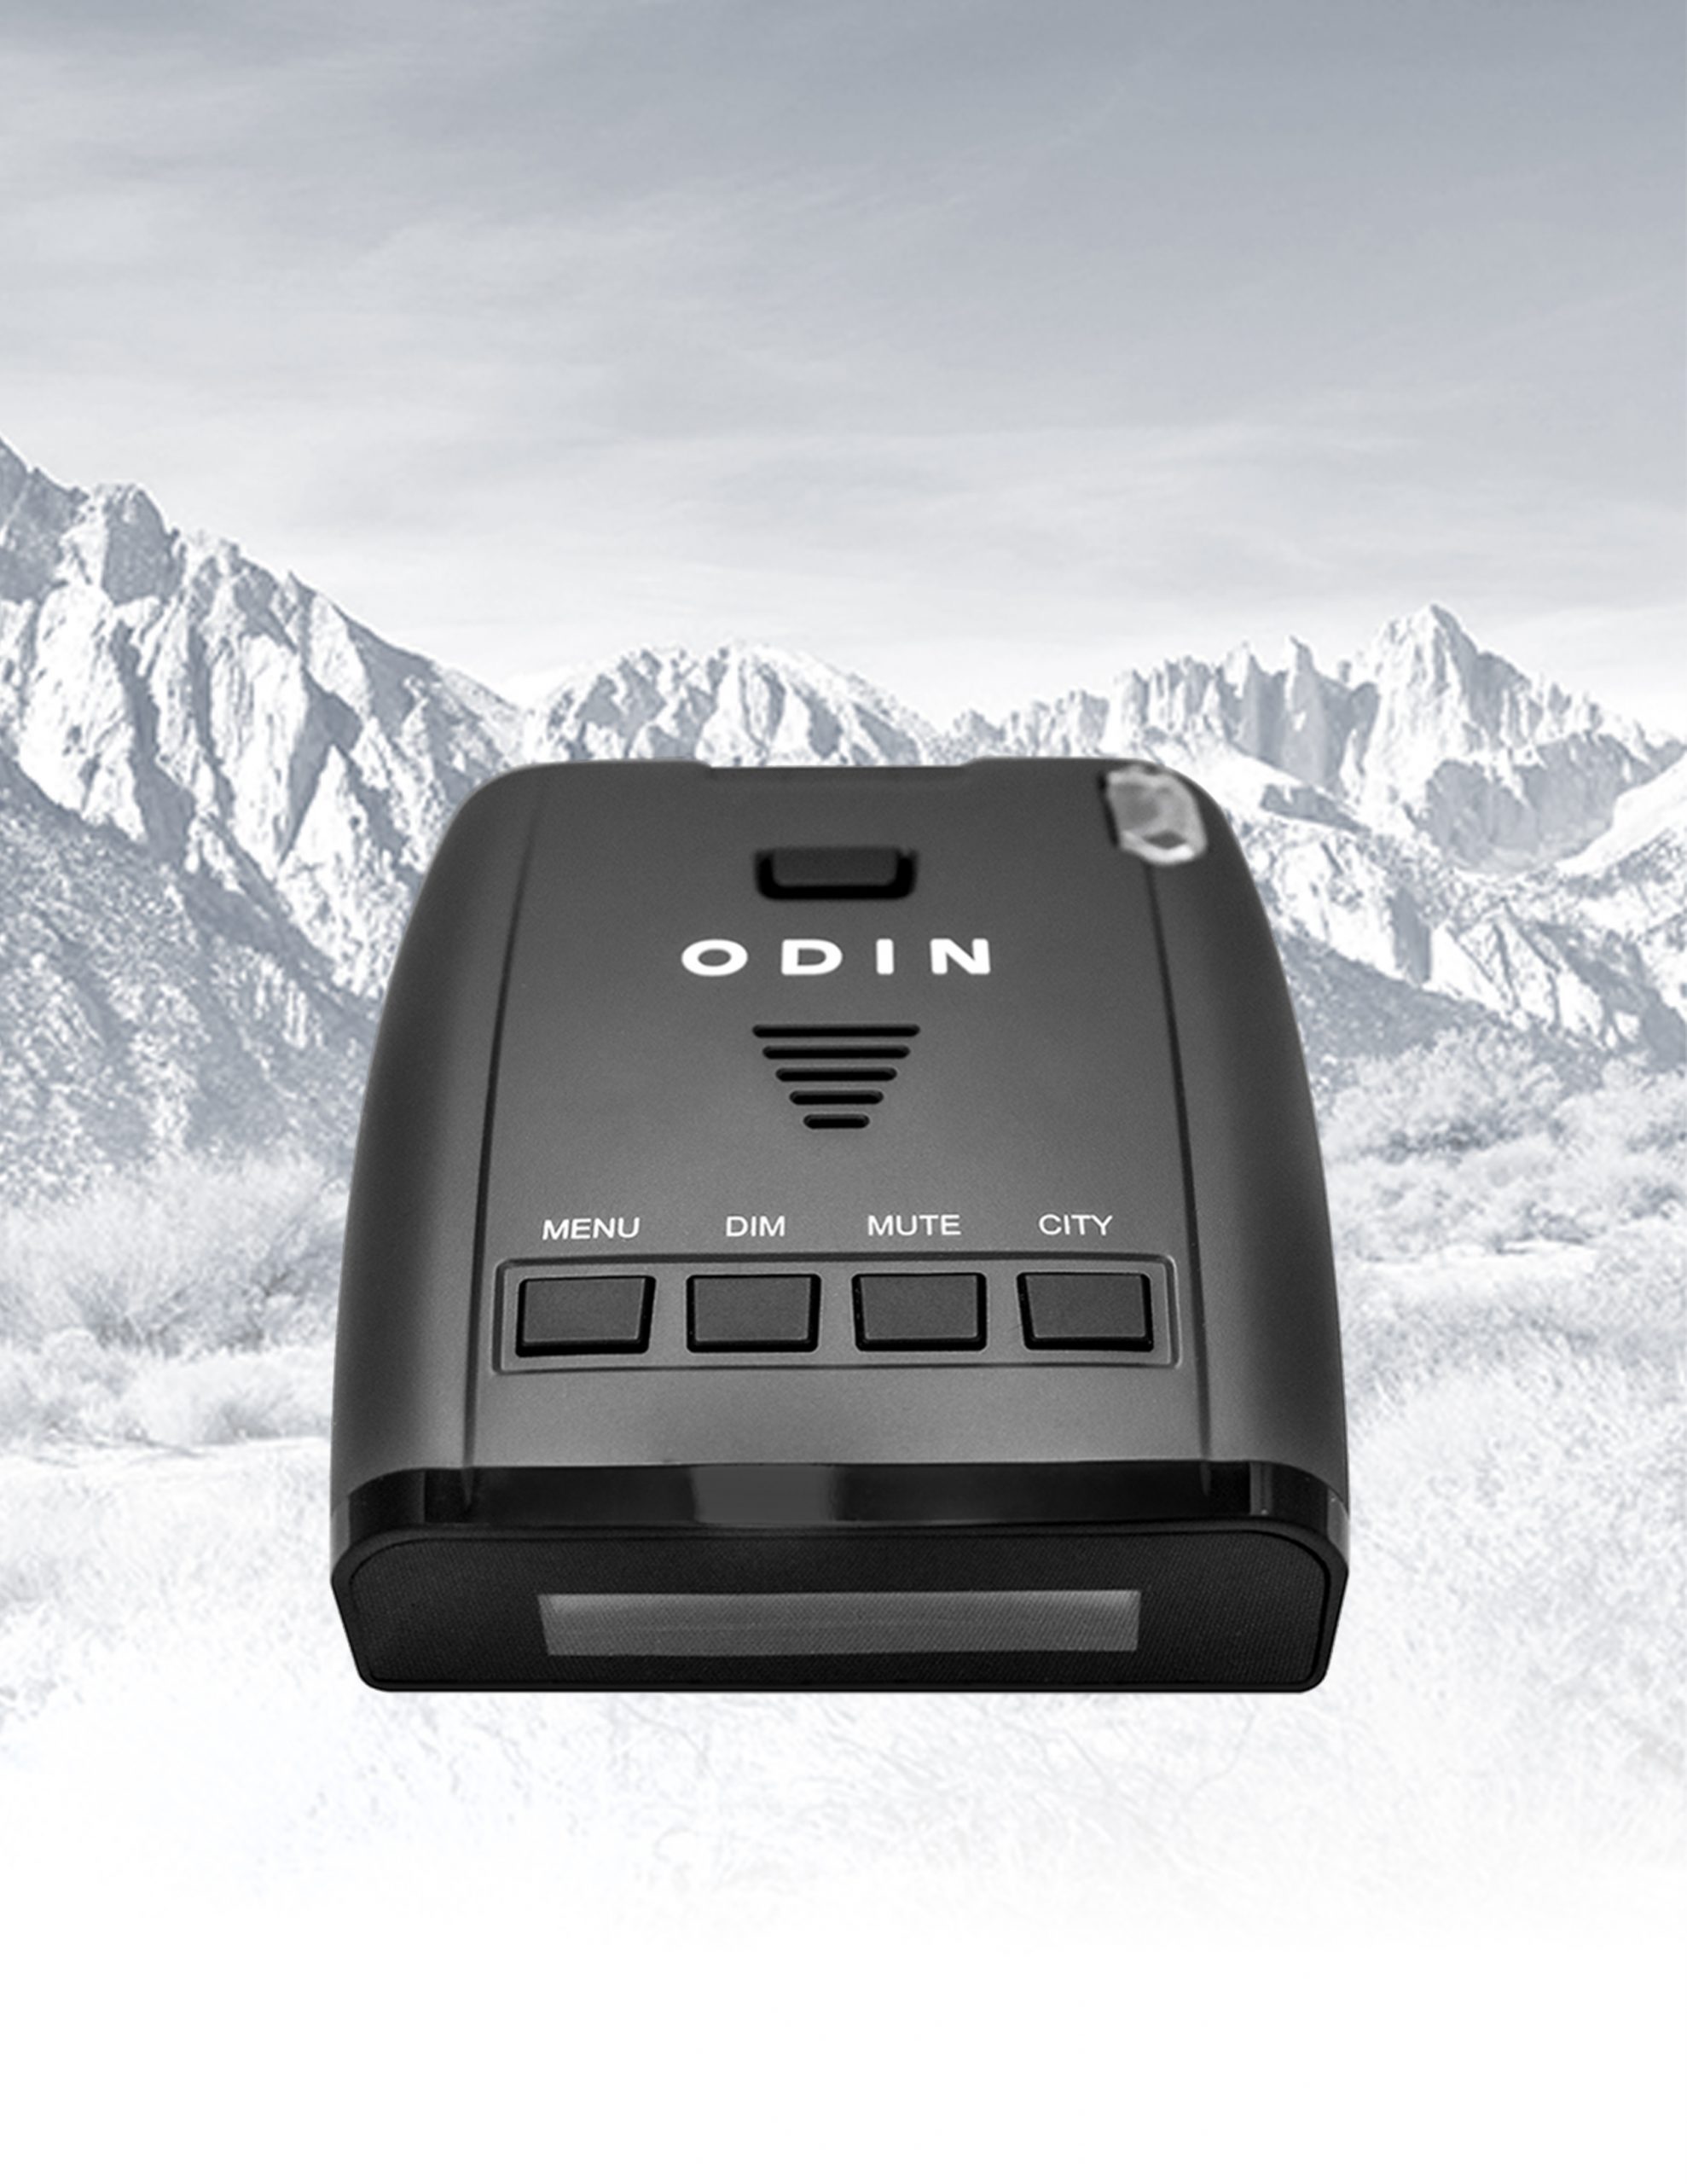
[RMR ODIN]
[RMR C495]
[RMR C435]
[RMR C475]
[BLINDER M27]
[BLINDER M47]
[BLINDER HP-905]
[ACCESSORIES]
[CONTACT-US]
For questions
or comments, e-mail: mail@radarscramblers.com
COPYRIGHT © 2024 RadarScramblers.com ALL RIGHTS RESERVED.
|